bytemd使用
初步使用
首先是根据bytemd中md的教程来进行操作。我这里使用的是vue版本的。
首先你要创建或者有一个vue项目(我是新创建的vue项目)
结构了解
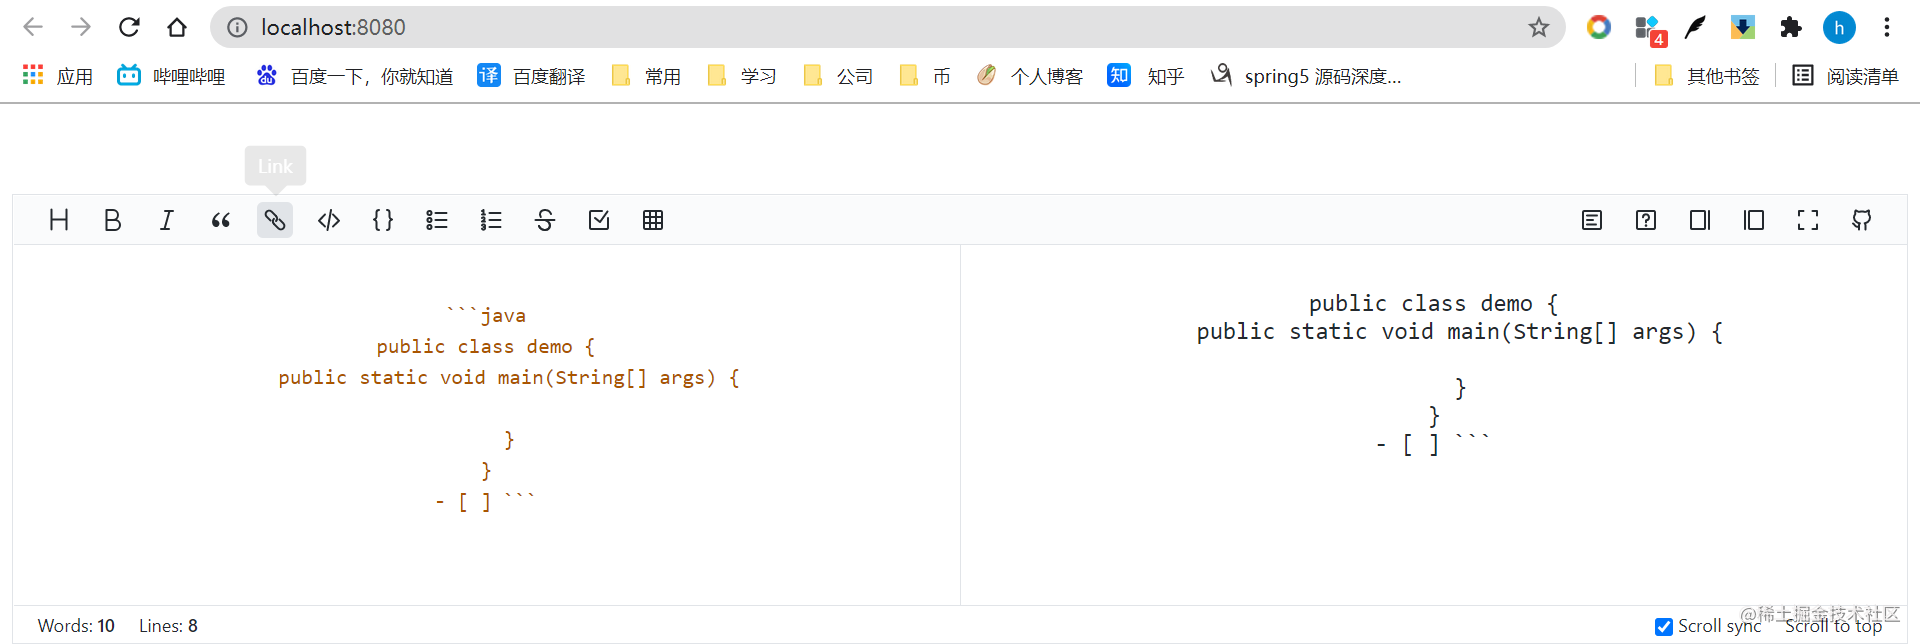
主要是分为编辑和查看两个页面
安装bytemd
1
2
3
|
npm install @bytemd/vue
|
新建一个test页面
1
2
3
4
5
6
7
8
9
10
11
12
13
14
15
16
17
18
19
20
21
22
23
24
25
26
27
28
29
30
31
32
33
34
35
36
37
38
39
40
41
42
43
44
45
46
47
48
49
50
51
52
53
54
55
56
57
58
59
60
61
62
63
64
65
66
67
|
<template>

  <Editor :value="value" :plugins="plugins" @change="handleChange" />

</template>


<script>

//这里就是引入所有的扩展的插件

import 'bytemd/dist/index.min.css'

import { Editor} from '@bytemd/vue'

import gfm from '@bytemd/plugin-gfm'

import highlight from "@bytemd/plugin-highlight-ssr";


const plugins = [

//将所有的扩展功能放入插件数组中,然后就可以生效了

gfm(),

highlight(),

]


export default {

  name: "test",

components: { Editor },

data() {

return { value: '', plugins }

},

methods: {

handleChange(v) {

this.value = v

},

},

}

</script>

<style scoped>


</style>
|
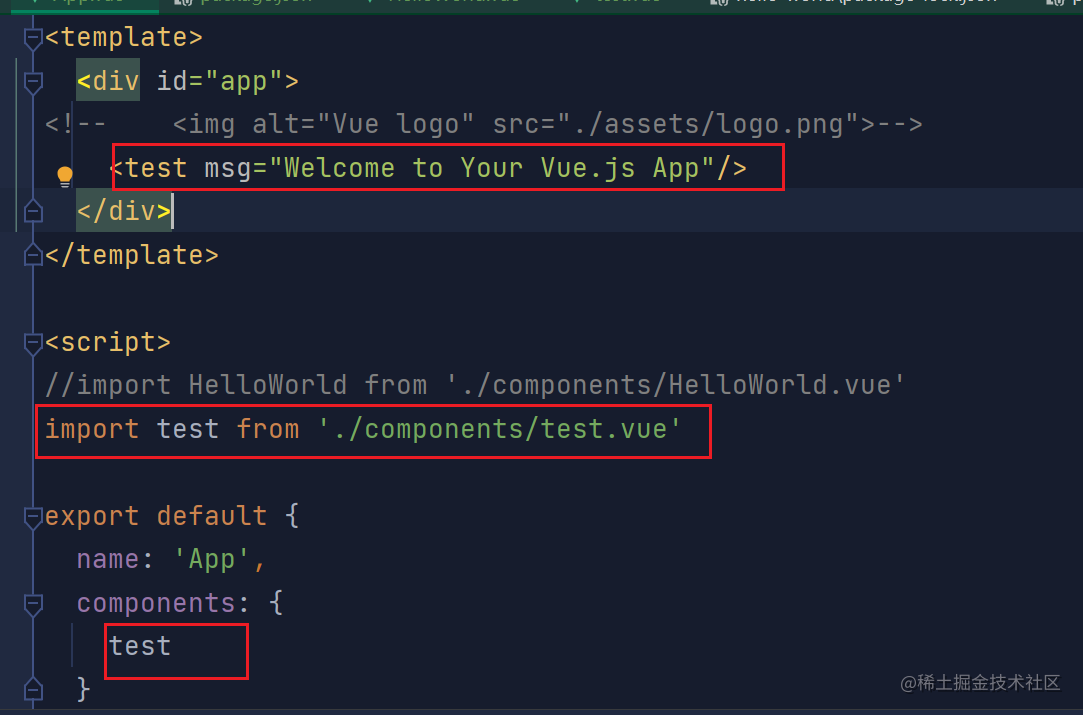
修改APP页面

启动项目
最后就是启动这个项目了

这只是简单的运行起来了,需要自己慢慢来摸索优化